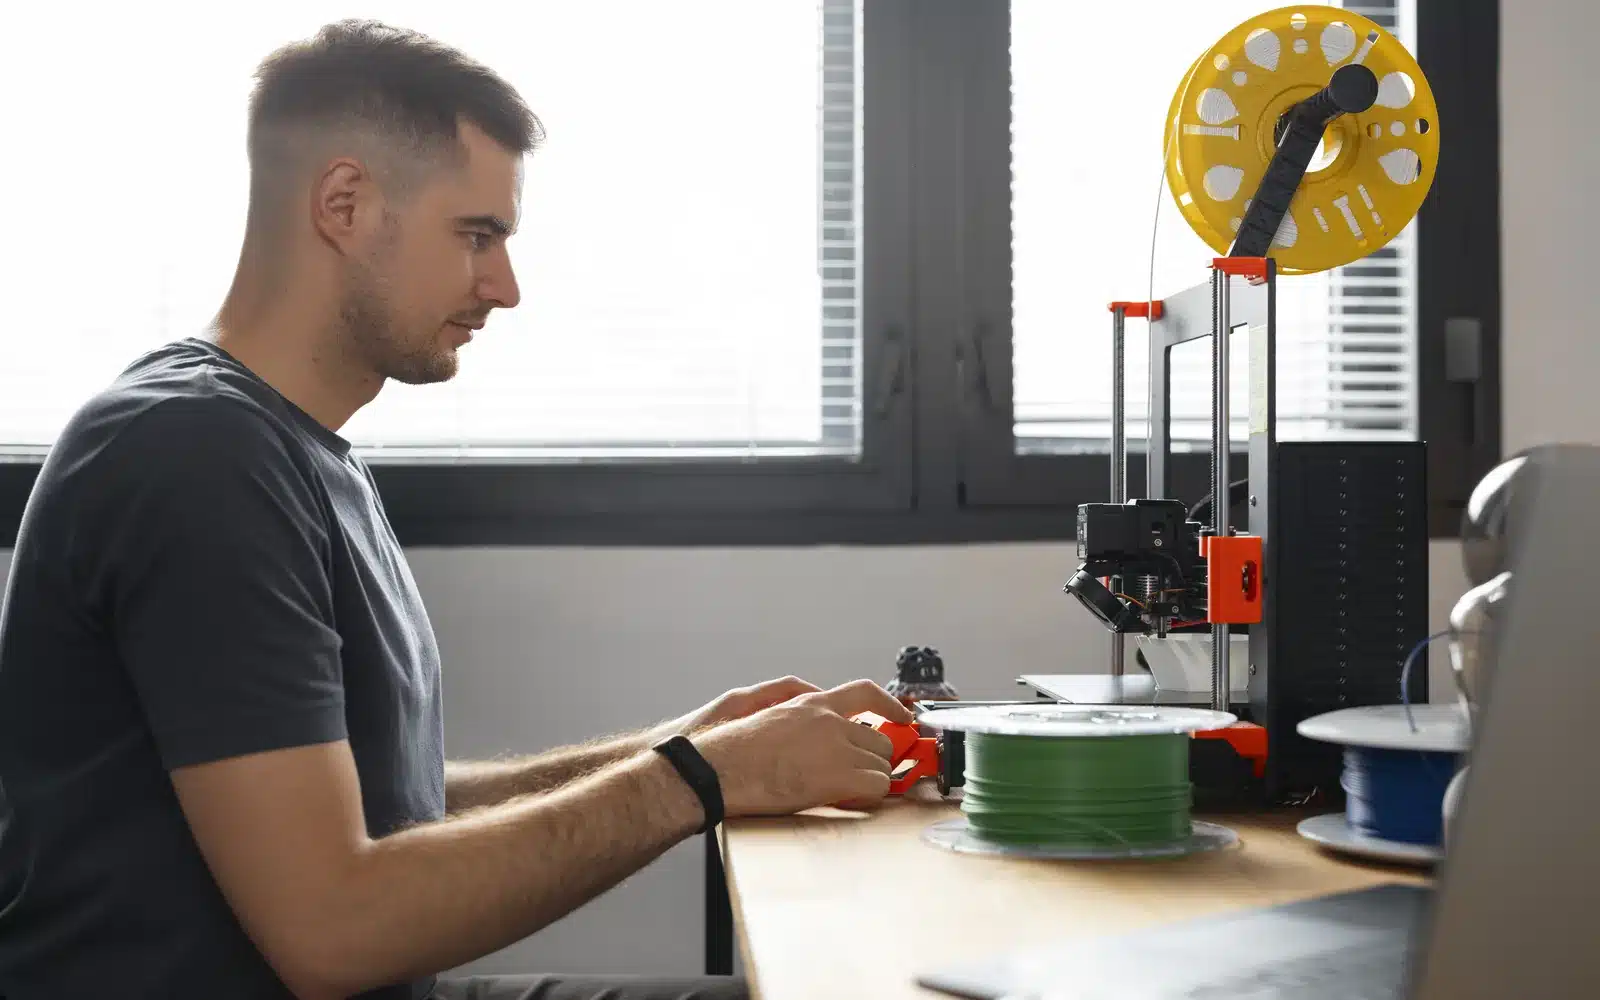
Goal
Print one small PLA part and pay close attention to that first layer, that’s the whole assignment here. Knowing what good plastic-to-plate contact looks and sounds like will save you more guesswork over the next year than any calibration print. This guide sticks to that one job. For unboxing and machine-specific settings, follow the setup guide that shipped with your printer instead.
1. Inspect the printer before power-on
Every printer leaves the factory with something holding it still for the trip. Creality kits usually ship with chunks of printed foam wedged around the gantry and zip ties cinching the X-axis belt. Bambu Lab machines travel with foam blocks under the toolhead and packing wedged between bed and frame. Prusa kits arrive as a box of parts, so this step doubles as the last stage of assembly. Whatever you have, check the manual’s photos again before you touch the power switch, since a stray zip tie left on a lead screw won’t stop the printer from homing, it’ll just make a horrible grinding noise doing it. Confirm the build plate sits flat with nothing resting near the nozzle, route the hotend and bed cables so they can’t snag mid-print, and if there’s a red voltage selector switch near the power inlet, common on older Ender 3 units and other budget kits, make sure it matches your wall outlet. Setting a 230V printer to 115V just runs it slow. Setting a 115V printer to 230V can cook the power supply the moment you flip the switch, so if you’re not sure what you’re looking at, stop and ask the seller or a qualified electrician.
2. Start with ordinary PLA
Grab whatever plain PLA you already trust, in the 1.75 mm diameter most desktop FDM printers expect, and use that for print number one. This isn’t the moment for silk PLA, wood-filled filament, glow-in-the-dark blends or a roll of TPU just because it happened to be in the box. Each of those needs its own tweaks to temperature, retraction or even the drive gear, and if your first print struggles you want exactly one explanation available, not four competing for blame. Plain PLA is also the most forgiving material around: it sticks to almost any surface once warm enough, doesn’t warp the way ABS does, and fills the room with a faint sweet smell instead of the sharper one ABS or nylon give off.
3. Load the filament
Run your printer’s built-in PLA load routine instead of improvising. It heats the nozzle to a sensible PLA temperature, usually somewhere in the 190 to 220°C range depending on the brand and hotend, then prompts you at the right moment. Snip the filament tip at an angle first so it feeds as a point rather than a mushroomed blob, that alone solves a surprising number of failed loads. Release the extruder lever if your printer has one, feed filament past the gears by hand until it grips, then let the machine pull the rest. Keep your fingers away from the nozzle itself, it’s well past the temperature that gives you a real burn and it doesn’t announce itself the way a stove element does. A good load finishes with one continuous strand of even color, not a stuttering trickle. If a blob of purged plastic is hanging off afterward, let it cool a few seconds and lift it away with tweezers, never your fingers, only once it’s clear of the fan shroud and any belts nearby.
4. Run the printer’s leveling process
This is where most first prints actually go wrong, not because people skip leveling but because they trust the word “automatic” a little too much. Auto bed leveling, whether it’s a BLTouch, a CR-Touch, an inductive probe or a strain gauge in the toolhead, measures how the bed tilts and warps across a grid of points and builds a mesh to compensate for it. What it often won’t do, on plenty of budget printers, is decide how close the nozzle should actually sit to the bed for that first layer. That number is the Z-offset, and on a lot of machines you still set it yourself, either by feel with paper slid under the nozzle at home position, or through a live-adjustment menu while the first layer prints. A few newer machines close that gap on their own: Bambu Lab’s toolheads use a strain gauge to sense the nozzle touching the plate and set first-layer height automatically, and Prusa’s newer Nextruder does something similar with a load cell. Trust that automatic value first if you have it, and only nudge it if the first layer itself disagrees. If you don’t have it, budget time for the paper test, and don’t treat “leveling complete” on the screen as proof the gap is right until you’ve watched plastic actually hit the plate.
5. Slice a small test model
In your slicer, choose your exact printer profile rather than the closest match in the list, the 0.4 mm nozzle profile if that’s what’s installed, and a generic PLA or your filament brand’s own profile if one exists. Resist opening the print settings and adjusting things you read about the night before, every default in that stock profile was chosen by someone who ran it many times, and changing five variables before your first layer even prints leaves you with five suspects instead of one. Pick something small, a 20 mm calibration cube or a little boat like the classic 3DBenchy, at a standard 0.20 mm layer height. Small means you get an answer in twenty minutes instead of finding out something was wrong three hours in.
6. Watch the entire first layer
Don’t slice this print and walk away. The first layer is the one part of the whole print where you can watch cause and effect happen live, every layer after it gets buried under the one above. Pull up a chair for the first five or ten minutes if you can manage it.
Good first-layer lines look almost boring: slightly flattened on top rather than round, packed edge to edge against their neighbors with no visible gap, a bit of a matte sheen instead of a wet gloss. You’ll usually hear it too, a steady, even hum from the extruder rather than a rhythmic clicking. Clicking almost always means the extruder gear is skipping over the filament because something downstream is asking for more plastic than the hotend can melt fast enough, which is a different problem from anything in the table below. Here’s what to look for and what it usually means.
| What you see | Likely meaning | Next action |
|---|---|---|
| Round, loose lines with visible gaps between them | Nozzle too high, a dirty plate, or a bed temperature fighting the material | Stop and work through the first-layer guide before continuing |
| Rough, translucent smear, or the nozzle audibly dragging or catching | Nozzle too low, digging into the plate instead of laying plastic on it | Raise the gap in a small, supported step and watch the next few lines |
| Continuous lines, gently flattened, pressed against their neighbors | Good initial contact | Let the print continue and check back at the top of the first layer |
| Corners lifting off the plate a few layers later, even though the first layer looked fine | Warping from heat loss or a draft, not a first-layer gap problem | Check for open windows, air vents or a draft near the printer instead of touching Z-offset again |
7. Let the plate cool before removal
Once the print finishes, the hardest part left is doing nothing for a few minutes. PLA grips most build surfaces, PEI, glass, textured plates, tightest while hot and lets go as everything contracts on the way down to room temperature. Wait it out and plenty of parts pop free on their own with a small tick you can actually hear. If you have a flexible steel sheet, flex it the way its manufacturer shows, most PEI-coated sheets tolerate a firm bend but not a sharp fold. If your plate doesn’t come off the printer, work a scraper in at a low angle and push it away from your hand, never toward it. Coated surfaces scratch permanently if you fight them, and a slipped scraper on a glass bed is how people actually get hurt doing this.
First-print checklist
- The exact printer and nozzle profile are selected in the slicer.
- PLA is loaded and extrudes as one smooth, continuous strand.
- The bed mesh and Z-offset used for this print are saved, not just applied once.
- The first layer was watched, and it came out continuous and gently flattened.
- The part cooled down before you removed it.
- The working profile is saved before you touch a single other setting.
That’s genuinely the whole job on a first print: get plastic sticking to plate in a clean, even layer, then stop touching things. Once you can look at a first layer and know within a few seconds whether it’s good, you’re ready to start tuning on purpose instead of by accident. Next: learn the calibrations that solve the most common quality problems.